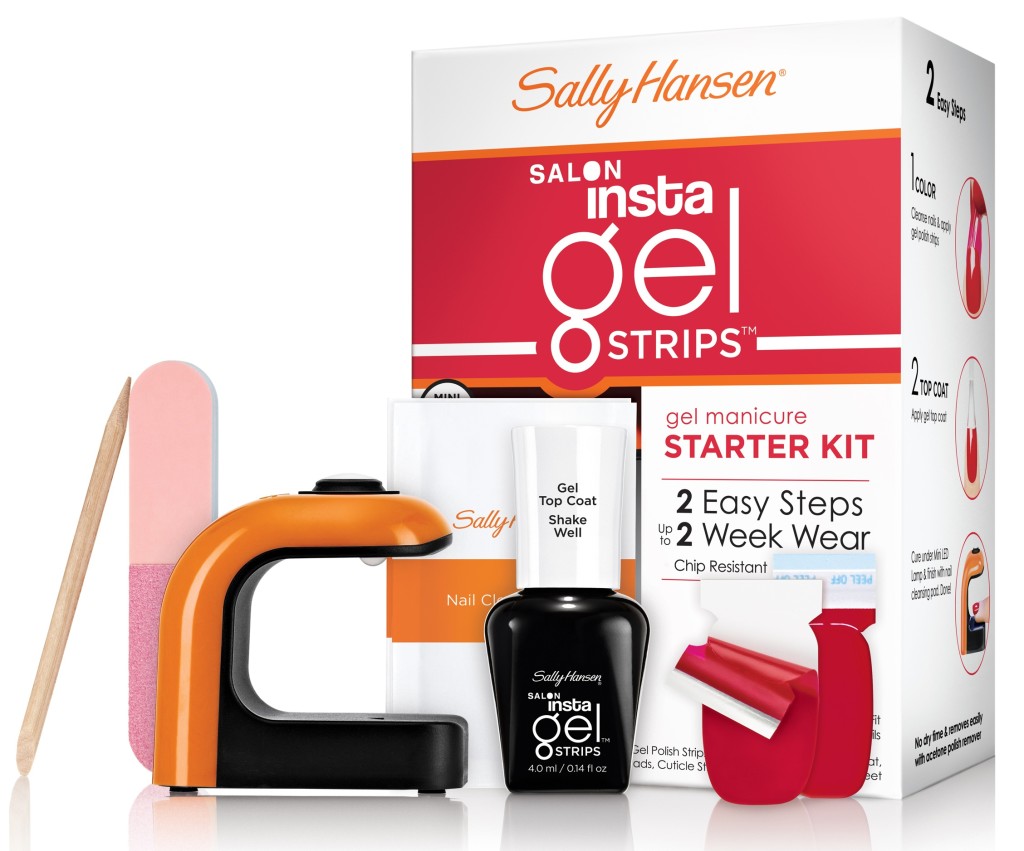
You have heard me talk of my love/hate relationship for gel nails before HERE. Well, miss mini-me who is into beauty not long ago purchased this little system by Sally Hansen at the drugstore…
and she had a revelation that it can be used on regular nail polish. So I thought lemme give it a try!
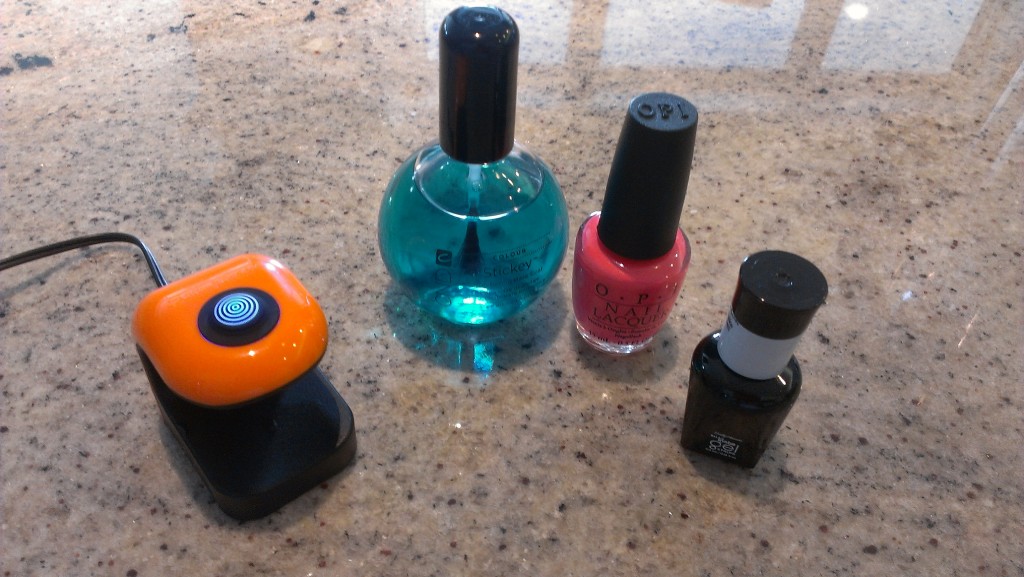
Here’s what I used from the kit and NOT from the kit… The Sally Hansen light, the Sally Hansen top coat. The base coat and the nail polish were just regular nail items. Nothing fancy about them.
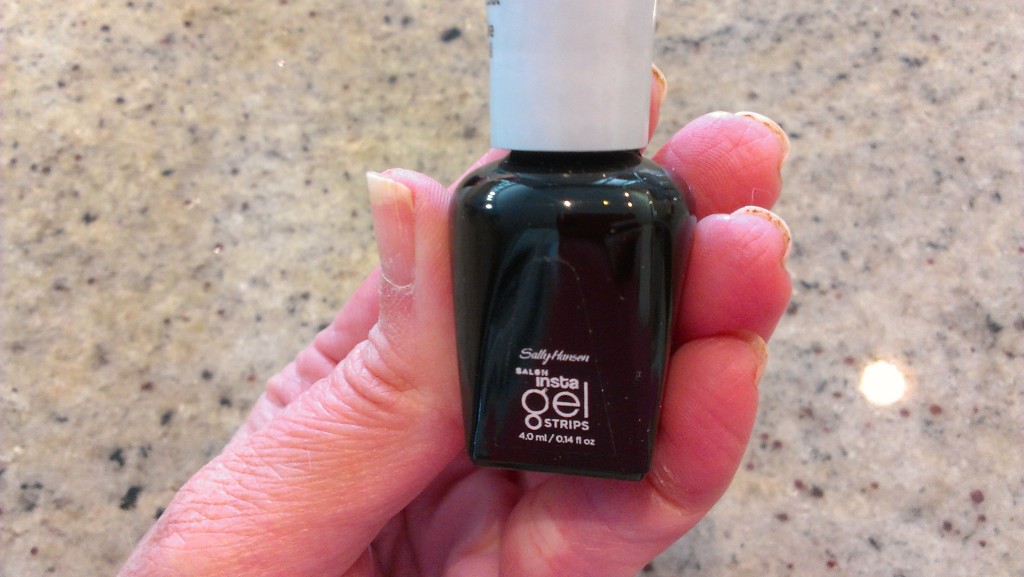
I painted my nails first with base coat, then 2 coats of polish, and then topped it with this from the kit.
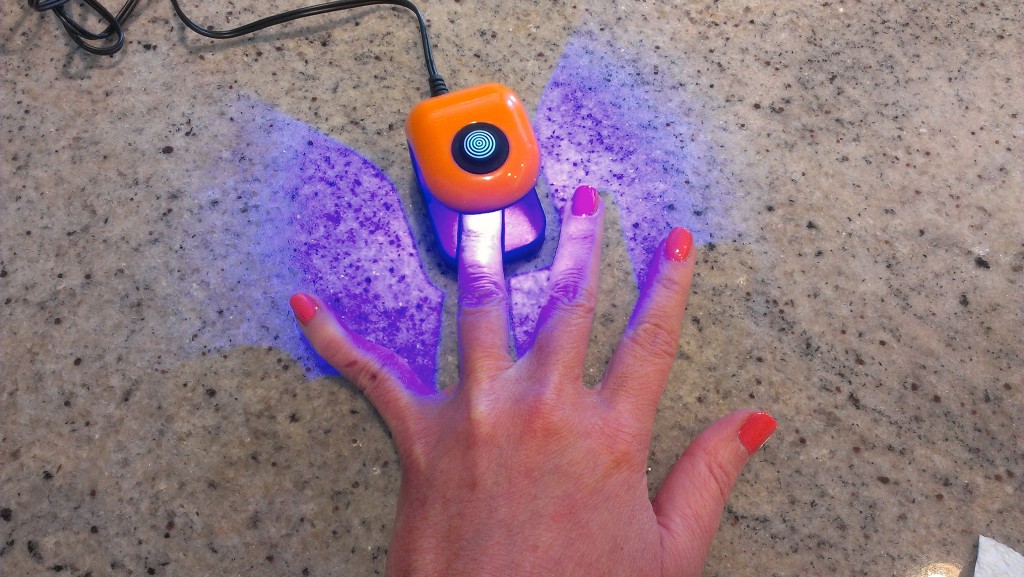
That was the TOP coat. Once I did, I placed each finger under the light and turned it on, and went through doing that for each finger.
… didn’t that pic turn out funny??!! That purple glow is from the light! HA!
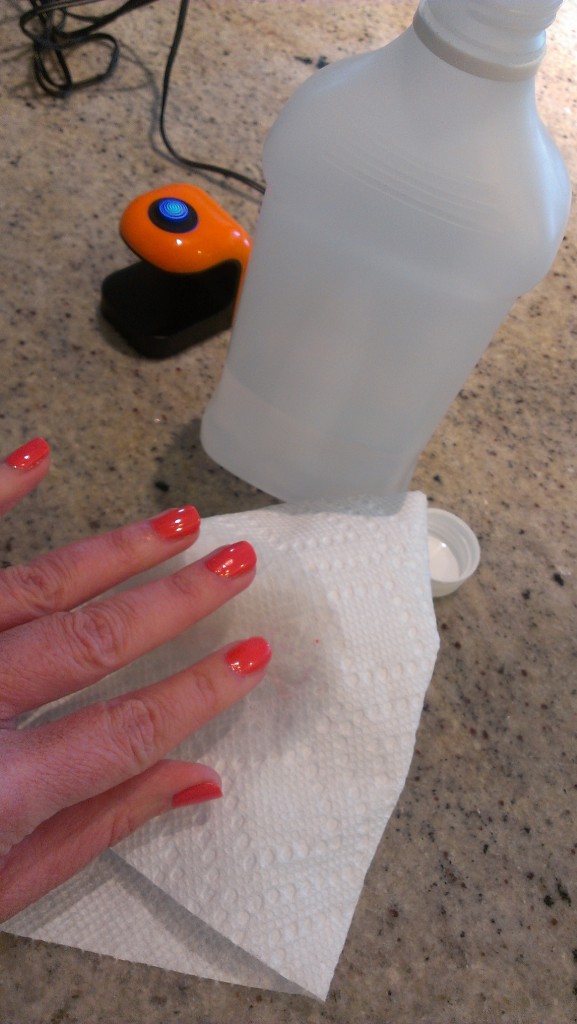
Finally, wipe each nail with a cotton ball or a wipe with alcohol on it.
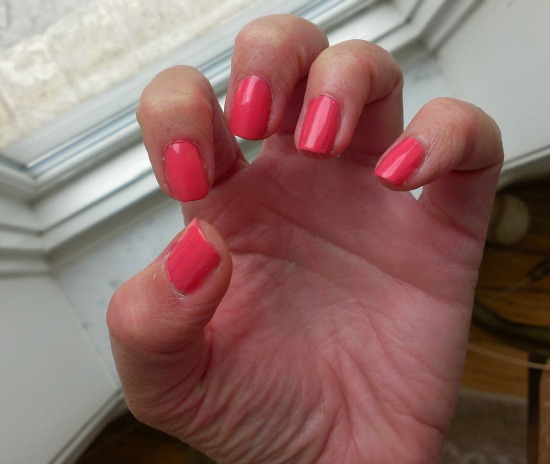
And the final look….
Looks professional to me! I’ll keep you updated on how long they last. But for now, knowing how easy this was, how great they look, I’d say it’s a repeat!





Before Shellac the salons used to do this. Now if you ask for a gel top coat they tell you you have to get Shellac instead.
Now in Oklahoma that is not a problem because the Shellac is included in the cost of the manicure. On the East Coast, however, you pay an extra $25 for the task.
Thanks for this DIY option!